Goalie Breakout Strategies
Goalie Flare
This is one of the more basic breakout patterns and might be easier for younger players.
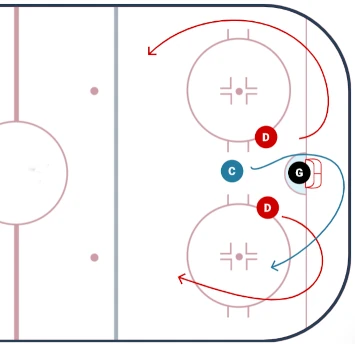
The defense "flare" towards the boards on opposite sides of the goalie. The center goes behind the net and comes out on the goalie's throwing side.
All players can continue up the ice to get the ring to the forwards in the offensive zone.
Judge the distance that the defence and center flare based on the strenght of the goalie's throw. Consider having the players flare to about the faceoff dots to reduce a high risk throw.
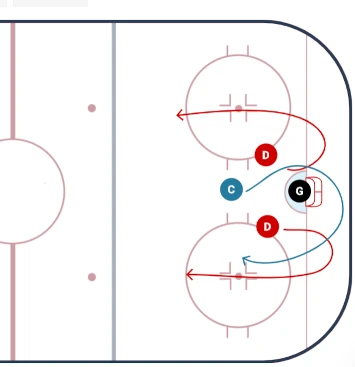
Power Left (Right)
The benefit of a power side break out is you have 2 defensive players on the goalies throwing side. This allows your center to be an alternate option, but most likely breaking into the neutral zone to transition to offence.
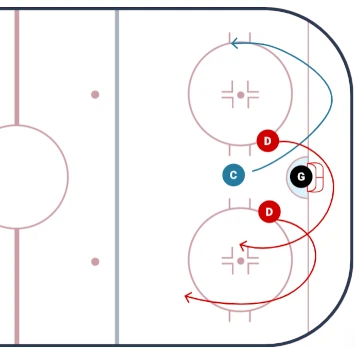
The defence both go to the left in this breakout. D1 does a 'flare' pattern and looks for the ring near the boards. D2 goes behind the net and is ready for a pass on either side.
C goes to the opposite side in a similar patter to D1.
All players should be ready for the ring at all times.
This examples shows power left (the majority of players) on the left side because the goalie in this case throws with their left hand. This pattern would be reversed if the goalie prefers to throw with their right hand.